If you guys are anything like me, you’ve definitely added tons of inspiration to your pinterest boards about chalk paint. It’s supposed to be super user friendly, minimal prep required, low odor, full coverage after 1 coat, great finishes with a wide range of colors… the list goes on!
Y’all, it took me a while to finally get myself ready to start my own chalk paint project because the only time that I ever tried to paint furniture, it turned out horribly! My husband and I attempted to paint an old dresser that I bought on Kijiji before we were married and I am so glad that I don’t have any evidence of how badly it turned out! So with that on my mind, I was really nervous to try my hand at painting furniture again because I felt like I clearly did not have the special touch to complete a successful paint project. Fast forward 5 years later and I finally got the nerve to try it again. It can’t be that hard right? Especially when using chalk paint right??? I am glad to say that it turned out very well for my first time! The night stands that I have in my bedroom are old ones that I inherited from my grandmother. Other than the dirty, old exterior, they were in great condition and solid wood 😉

")
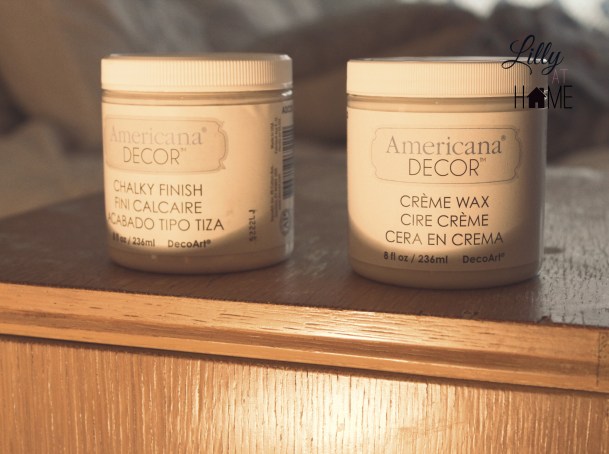
I originally bought Americana Decor Chalky Finish Paint in “Everlasting” along with their Clear Creme Wax from Walmart. I heard great reviews about Annie Sloan Chalk Paint, but when I saw the price of this brand which also had good reviews, I couldn’t pass it up. The paint costed about $15 which was easily $10-15 bucks cheaper than Annie Sloan.
It took me about 3 months to finally get to starting the project, and when I finally opened the paint I was shocked to find the paint almost completely dried out! I’m assuming it wasnt sealed properly and air got in. It was hard and rubbery. I immediately searched out how to thin out or “re-liquify” paint once it starts to dry and long story short, everything I tried failed.
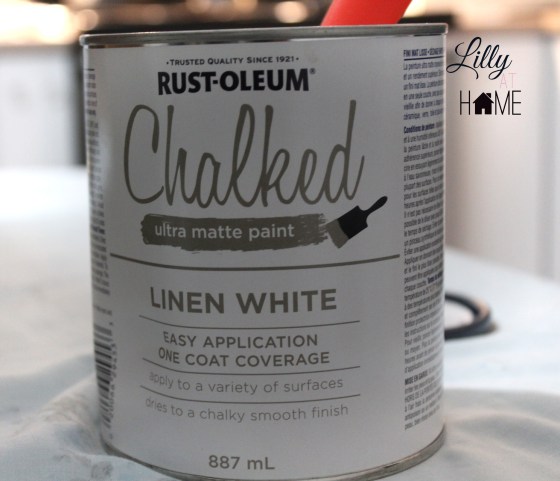
Despite that setback, I was determined to get these night stands painted so I headed out to Walmart again to buy another jar of chalk paint. Unfortunately, it turned out the Walmart closest to me didn’t sell Americana chalk paint anymore so I opted for Rust-Oleum Chalked Ultra Matte Paint. They had cans of chalk paint as well as spray paint chalk paint (which I am very tempted to try for my next painting project). I opted for the traditional can of paint which I believe cost about $20 (I can’t remember the exact price)
The look i’m going for in our bedroom is white, light, peaceful & feminine but not so much so that my husband feels like he’s living in a doll house lol. I picked up a can of their “Linen White” colored chalk paint and went to work.
Here’s a quick review of what I did along with photos 🙂
- I started out with wiping down the pieces to ensure all dirt and dust was removed. I did all the work on my dining room table which I covered in garbage bags and then put an old sheet on top of that to ensure my table was protected. There was literally no odor from this paint so I wasn’t at all concerned about my kids being around while I painted
- I then got out a paint brush and just went at it. I did long, even brush strokes and tried not to go over any parts that I just painted in order to avoid any smudging.
 Streaky First Coat
 Streaky First Coat
 - This paint claims to provide full coverage with one coat and that was not at all the case for me. I actually did 3 coats. The first coat was very streaky and the second coat showed too many brush strokes despite sanding in between coats. Despite reading on a few blogs that it is not advisable to use rollers with chalk paint, I was getting too frustrated with the brush strokes coming through so I just decided to be a chalk paint rebel and grab some rollers from the dollar store! The rollers gave the pieces a better, smoother, even finish. The only con to the roller is that, just as the experts claimed, it soaks up so much paint and ultimately uses a lot more paint than needed. Due to the fact that you pay so much for such a small can or jar of chalk paint, I get it, I really do. But I also didn’t care because I only used the roller for the final coat.
 Second coat with heavy brush strokes (before sanding)
 complete coverage with 2 coats
 - I allowed the paint to dry at least 30 minutes between each coat, then sanded gently (outdoors) and then wiped down first with a dry paper towel to get as much of the dust off as possible followed by a wipe down with a damp cloth.
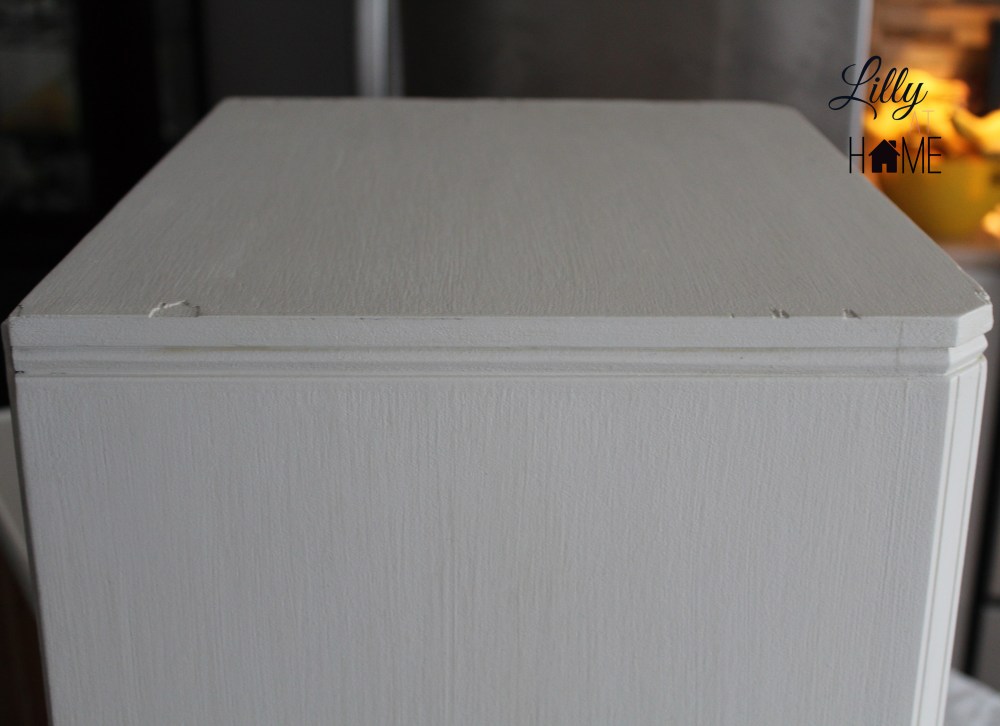
3rd coat with roller after light sanding. I like that you can still see minimal brush strokes to give it a more rustic look but still a smoother finish than the 2 coats - The last step was sealing the night stands with the creme wax ( I used the Americana Wax since it was still in good shape ans unopened). I didn’t buy a special wax brush that many DIY’ers use. I simply took a lint free, clean cloth and dipped it in the wax and gently rubbed and then buffed by hand. and voila!!! In less than a day I got 2 new night stands. I did let it completely dry overnight and then brought them back into my room. So easy!
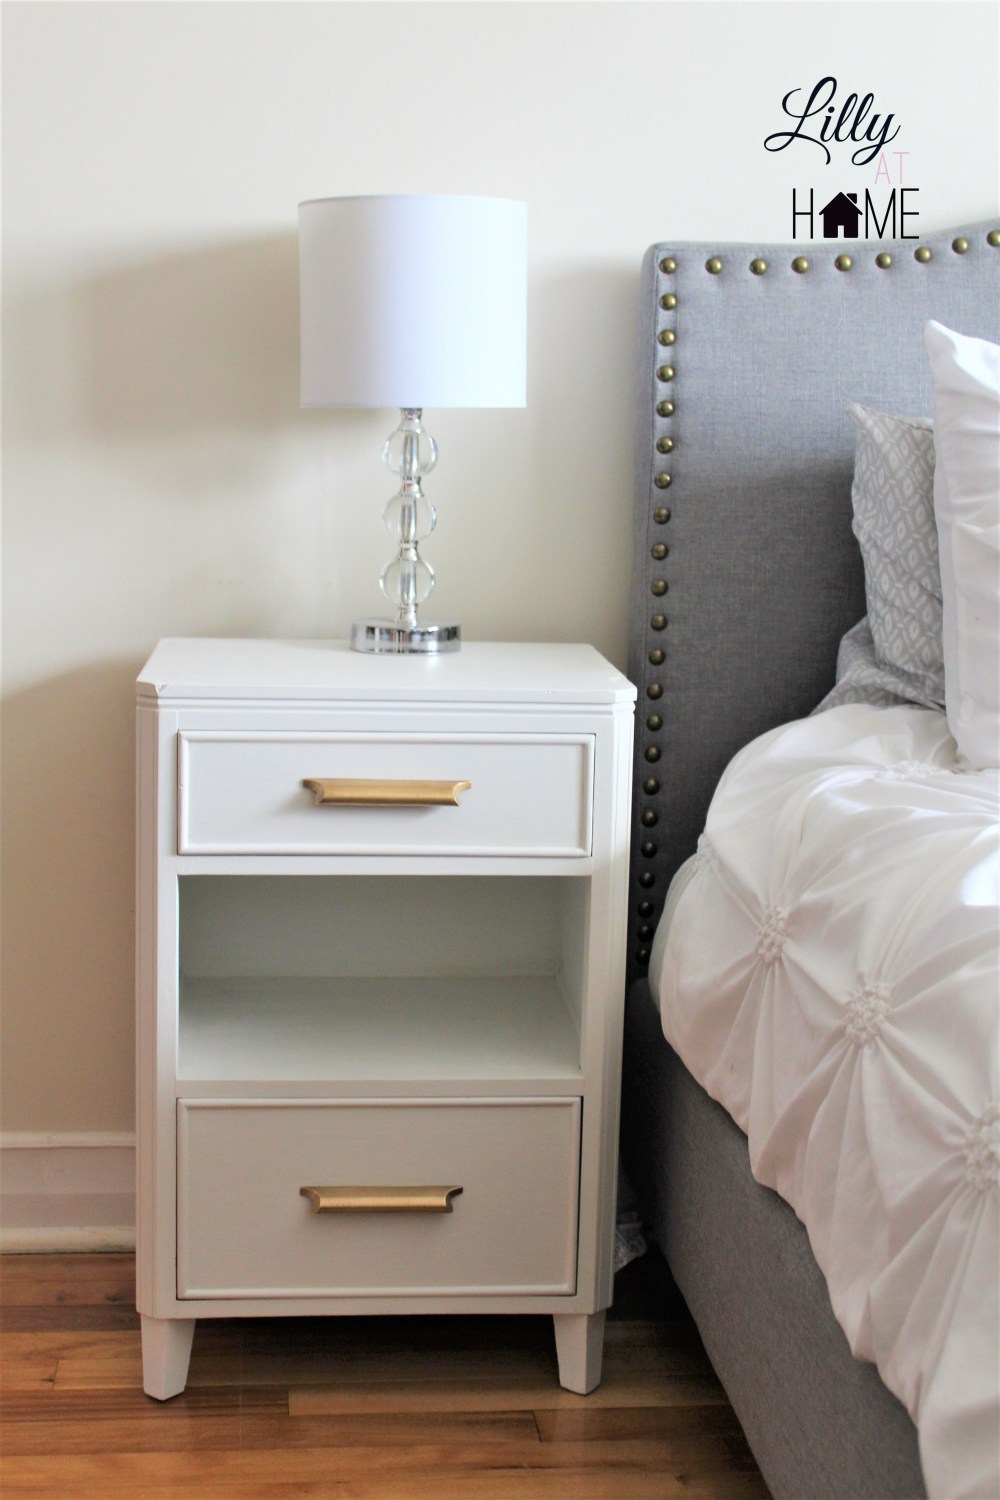
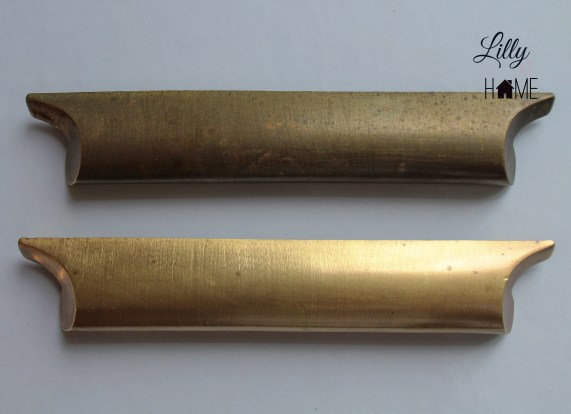
Night Stand After using Rust-Oleum Chalked Ultra Matte Paint - Oh! and as for the hardware on the night stands, I personally loved the look of the original brass handles so I simply polished and cleaned them with everyday products that you can find in your home. It makes them look like new!
My night stands have a fresh look, and I love the slight imperfections in the furniture that give it some character. I didn’t want to bother with stripping old varnish and filling in cracks at first out of laziness but in the end I think it looks better that way!
I’d love to hear feedback about this project and let me know about your own chalk paint projects!
Hugs and Love ❤
Lilly At Home

Hey Lil, Great job! I’m about to do my cupboards as well so it’s timely for me to see what an awesome job you did! Love your blog. Keep it up.
LikeLiked by 1 person
Thank you very much. Best of luck with the cupboards! The power of paint is something else it’ll give your kitchen a whole new look!
LikeLike
A great project! Glad I found your blog, I am also about to paint some nightstands with the same paint. Did you use a topcoat? Or did you wish you had?
LikeLike
OMG a whole year later and I am only seeing this comment now! I hope your project went well! I used a clear wax top coat and I wish it held up a bit better. what I think I should have done in hindsight, is add a glass top to my nightstands just to protect it from wear and tear. the sides and front of the table still looked great after everything. only the top took a major beating!
LikeLike